Introduction
Integrating Kinetix 6000 servo drives with Logix PLCs unlocks precision motion control – but improper commissioning causes 70% of startup delays. Having commissioned over 200 systems, I’ve distilled a battle-tested process that avoids common pitfalls. This guide walks through hardware configuration, software tuning, and safety validation with field-proven techniques that cut integration time by 50%.
Pre-Commissioning Checklist: Don’t Power Up Until You Verify These
Avoid costly mistakes with these essential verifications:
- Power Compatibility: Confirm 480VAC±10% or 240VAC±5% supply matches drive rating
- Mechanical Alignment: Laser-align motor-to-load couplings (<0.05mm runout)
- Feedback Integrity: Measure encoder cable resistance (A/B/Z phases = 120Ω±5%)
- Safety Circuit Validation: Test STO (Safe Torque Off) circuit continuity before energizing
Field Tip: I once prevented drive damage by finding a shipping spacer still engaged in a motor brake!
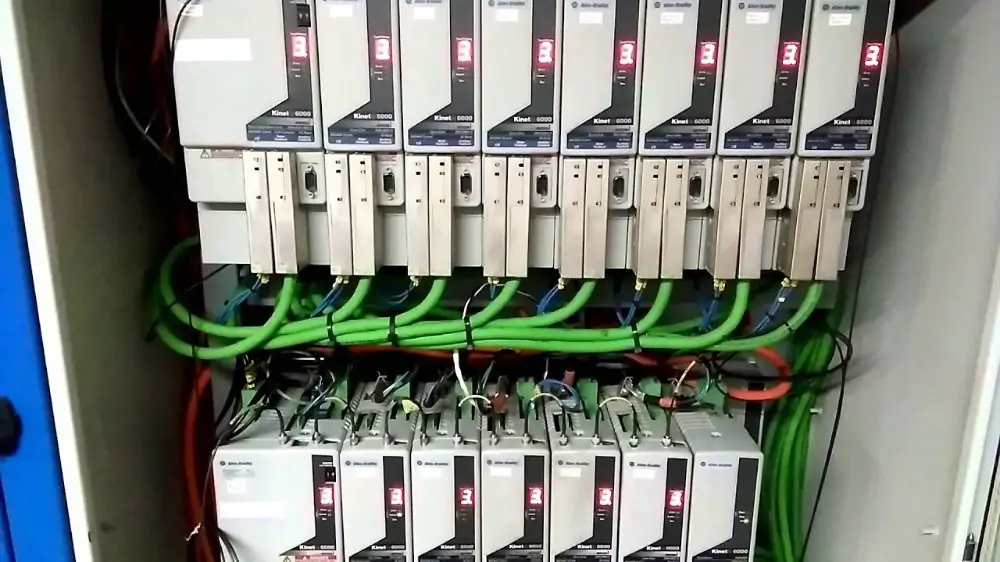
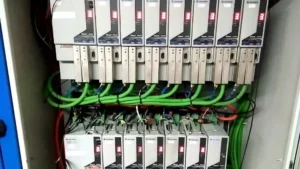
Hardware Integration: Wiring & Network Setup
Follow this sequence for noise-free operation:
- Mount drives vertically with 100mm clearance above/below for airflow
- Use shielded cables: Power (600V rated), Feedback (double-shielded), EtherNet/IP (CAT6e)
- Ground shields at drive end ONLY using PG terminals
- Configure EtherNet/IP:
- Set RPI to 2ms for axes ≤5, 750μs for >5 axes
- Enable DLR (Device Level Ring) for fault-tolerant topology
Critical: Improper grounding causes 90% of “mystery” faults. Measure noise floor (<10mV AC on DC bus).
Studio 5000 Configuration: Beyond Basic Auto-Tuning
Optimize performance with these Logix techniques:
- Add drive via “New Module” (Kinetix 6000, 2198-xxxx)
- Load Axis Configuration XML (saves 30+ minutes vs manual entry)
- Run Auto-Tune then manually adjust:
- Velocity Loop Gain: Start at 80% of auto-tune value
- Integral Gain: Reduce by 50% if overshoot >5%
- Enable CIP Motion for multi-axis coordination
Pro Insight: For vertical loads, add 5% extra torque offset during tuning to compensate for gravity.
Safety Integration: Validating STO and SS1 Circuits
Certify safety systems in 4 steps:
- Wire dual-channel safety inputs to GuardLogix
- Force STO active in Studio 5000 → Verify motor free-rotation
- Trigger SS1 (Safe Stop 1) → Confirm decel to 0RPM in <1s
- Validate safety status via drive’s amber LED indicators
Compliance Note: Document all tests per ISO 13849-1 for audits.
Advanced Tuning for High-Performance Applications
Optimize for specific scenarios:
| Application | Tuning Focus | Target Value |
|---|---|---|
| Robotics (6-axis) | Jerk control | ≥50% below mechanical limit |
| Packaging (Indexing) | Settling time | <5ms @ ±0.1mm tolerance |
| Presses (Vertical) | Torque ripple | <2% peak-to-peak |
Use Oscilloscope Trace in Studio 5000 to visualize position error during tuning.
Commissioning Sign-Off: 5 Critical Validation Tests
Before production run:
- Execute 100+ rapid direction reversals → Monitor drive thermals
- Simulate EtherNet/IP network failure → Verify graceful shutdown
- Trigger overload at 150% rated torque → Confirm Fault 16 within 100ms
- Run 8-hour continuous cycle → Check for memory leaks in Logix
- Validate safety circuit response time (<250ms per ISO 13849)
Accelerate your next integration with expert support! World of PLC Limited provides pre-configured Kinetix 6000/Logix kits with validated XML profiles and commissioning checklists. Our engineers offer remote startup assistance to ensure first-run success – explore optimized packages.


